Assembly Steps

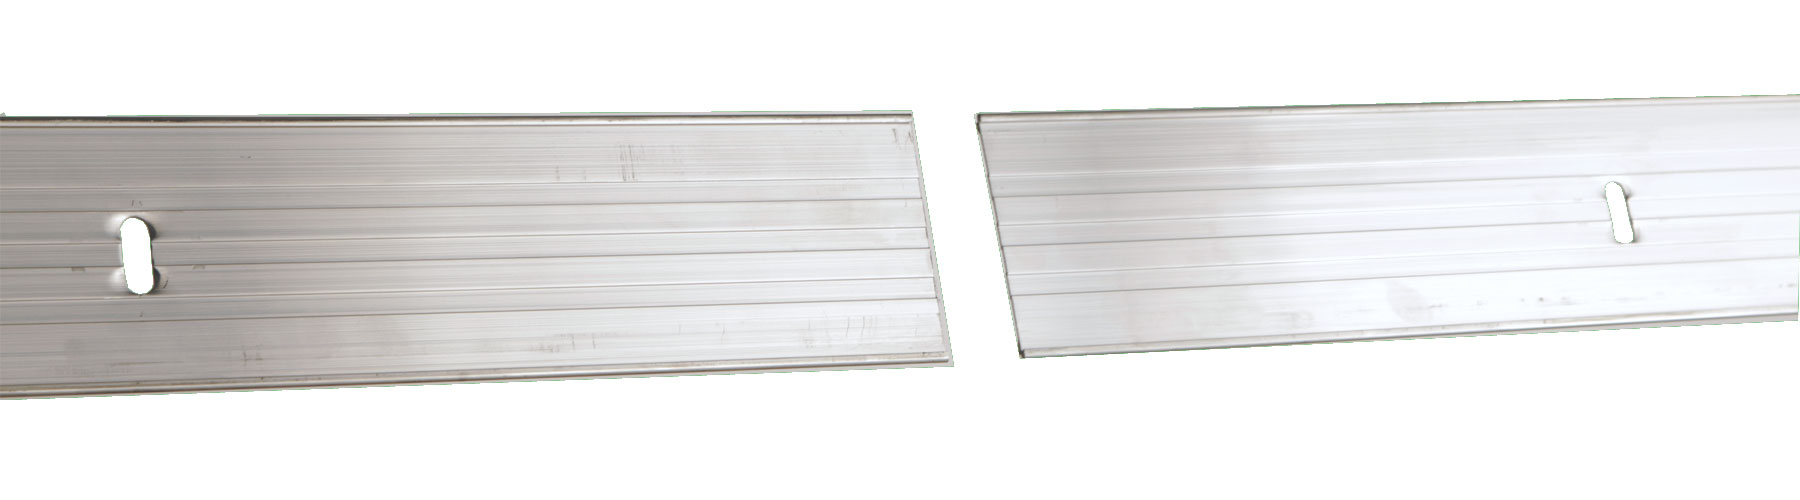
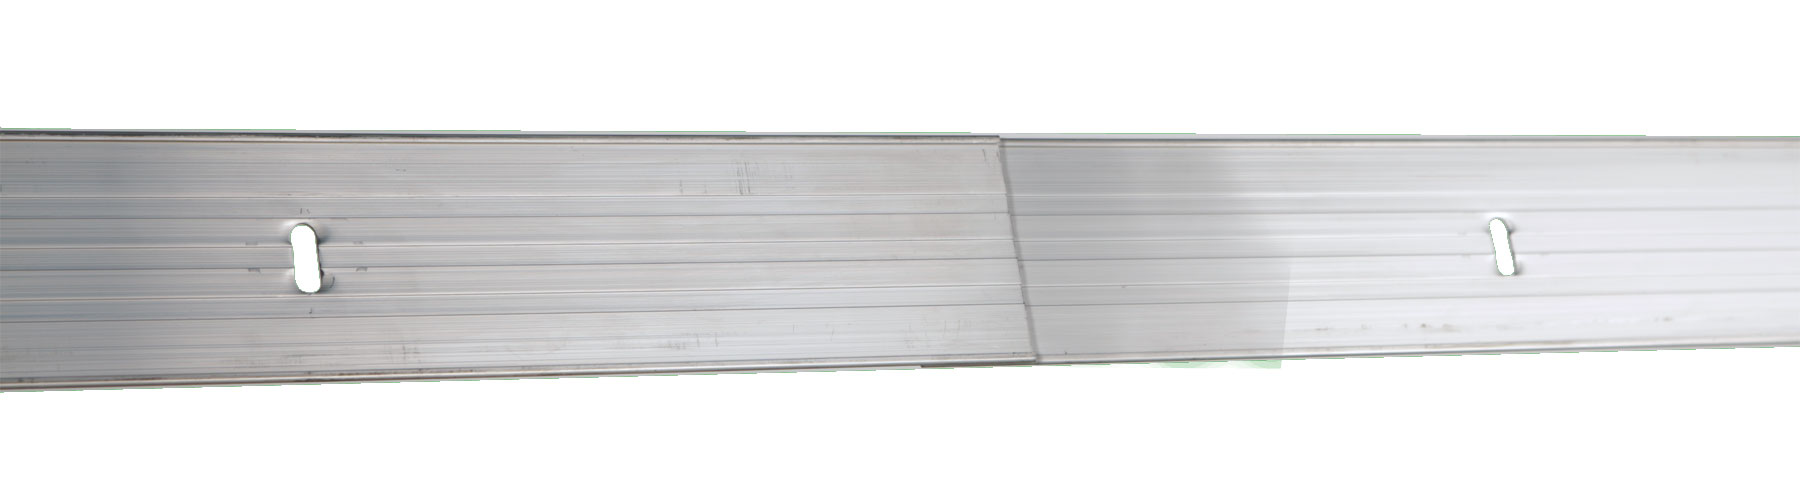
1. Slide ends together
1
2. Overlap material at least 2 inches but 4 is better.
2
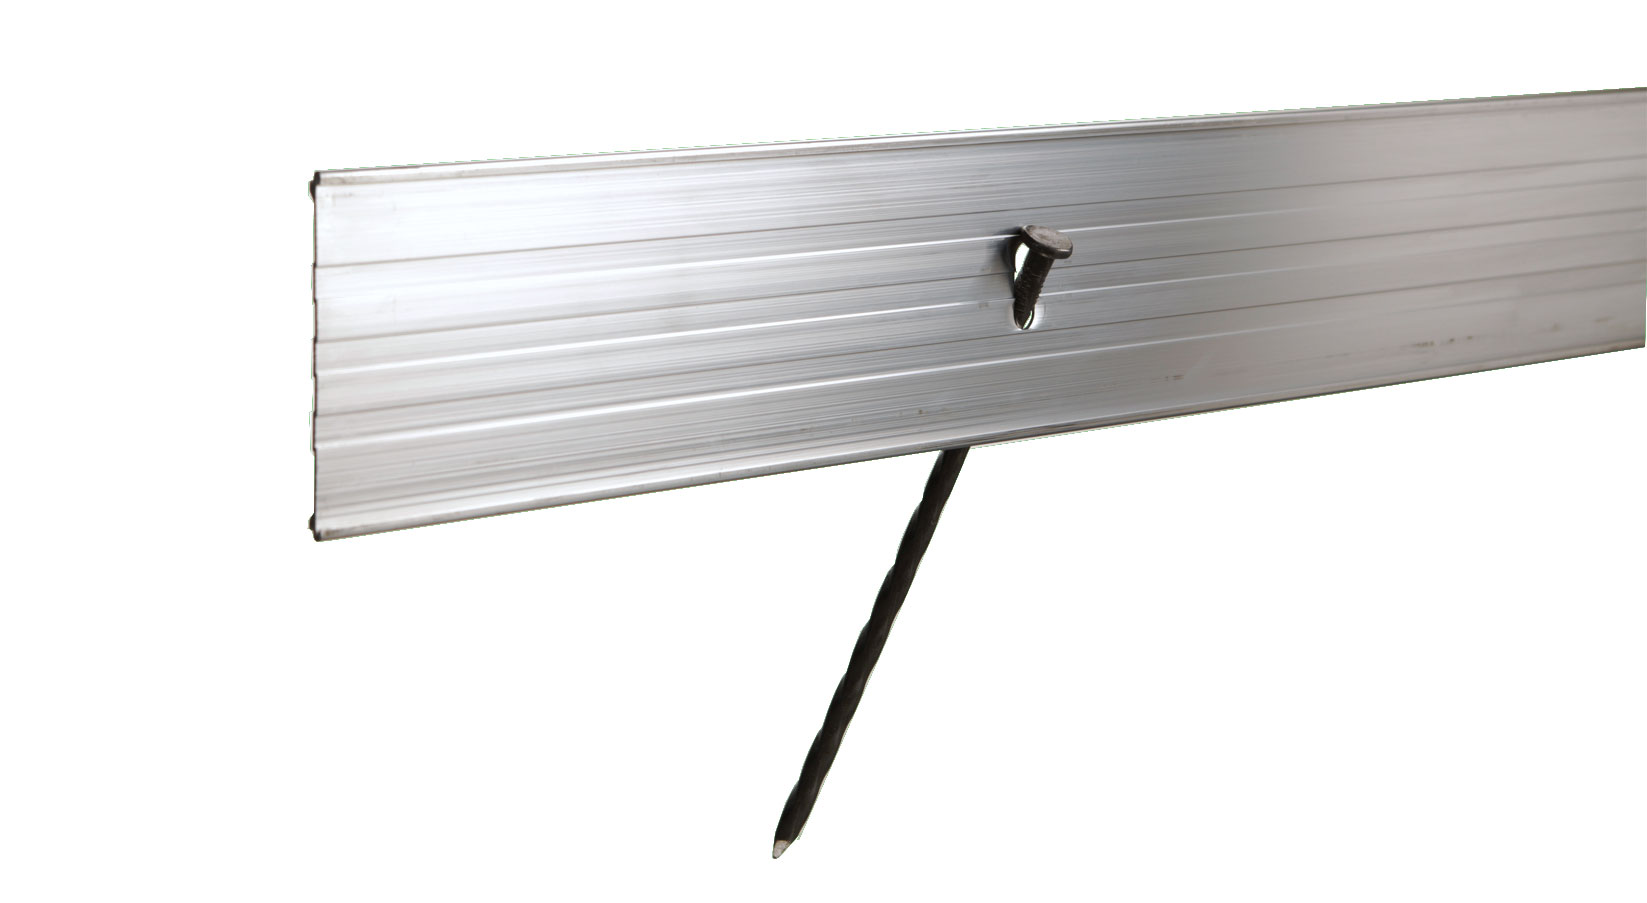
3. Insert stake at 45 degree angle.
3


Intallation Steps

1. Lay out area to be defined. Marking paint, string or a garden hose works well. 1
2. Spade a vertical wedge in ground approximately 4" deep. 2
3. Begin placing edging in trench RADIUS SIDE UP. 3
4. Hammer spikes at a 45 degree angle to the edging. 4
5. To ensure straight lines, stake and backfill edging continuously, compacting both sides to ensure the finish grade is approximately 1/2" below top of edging. 5


Intallation Videos

Helpful Hints

  • - Corners: Cut edging from bottom to approximately 1" from top with hacksaw and bend to desired angle.
  • - Grade Changes: Cut "V" shape notch in bottom of edging and bend to accommodate grade

Helpful Hints

  • - End Stake Adapters: Use at all start/stop points to secure edging and to splice cut pieces together.
  • - Corners: Cut edging from bottom to approximately 1" from top with hacksaw and bend to desired angle.
  • - Grade Changes: Cut "V" shape notch in bottom of edging and bend to accommodate grade
  • - Tree Rings: Cut locking system at final connection and use end stake adapter to splice pieces together.


Guarantees

Quality Service

Affordable Pricing

Free Shipping

Direct Delivery