


Adding Sta-Rite Edging to any outdoor project can create very defining lines and define an area. It is easy to install and can be ordered directly from yardproduct.com for free shipping and delivery to your home anywhere in North America!
The idea of installing it yourself may seem like a daunting task, but this DIY project is simple and will save you money!
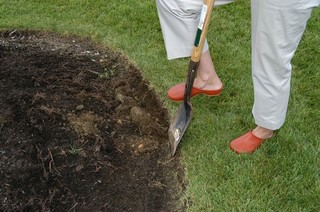
1. To begin, you need to dig a trench where you are going to put your edging.
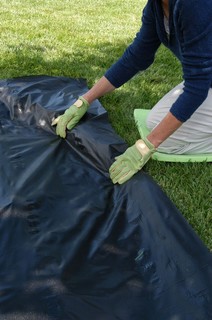
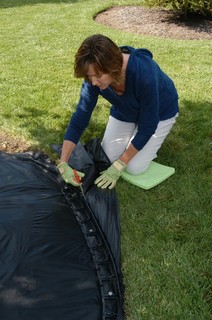
2. Next, you will want to lay out a garden tarp so your mulch doesn’t disappear into the soil below.
 3. Once you purchase and receive your Sta-Rite edging from yardproduct.com, decide if you want your edging to stay straight or curve.
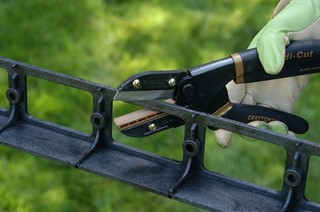
4. If you decide on a curve, simply cut the one side as shown below:
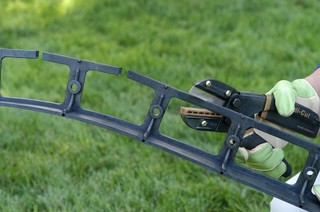
5. Once done, your Sta-Rite Edging will fit together just like a puzzle and you can connect the pieces together until you have the correct length.
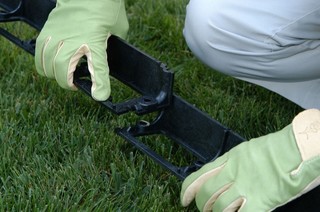
6. Next, place the edging along the edge of the dug out trench.
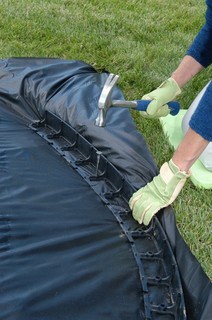
7. You will need to hammer the stakes through the edging and into the ground so the edging stays in place.
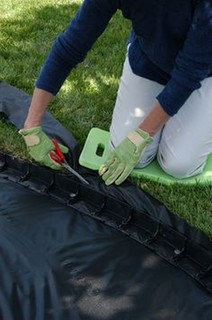
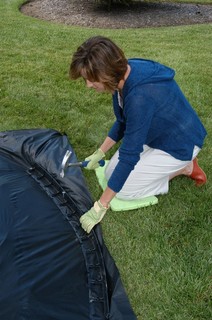 8. Now you’re going to need to remove the extra tarp along the edges of the trench.
 9. Make sure to trim the edges with a pair of scissors!
10. Add the mulch, gravel or topsoil (your choice) and fill in the trench evenly.
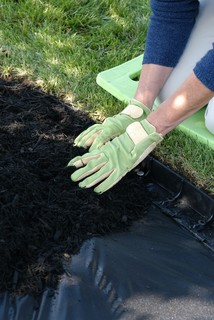
11. Don’t forget to make sure the Mulch (or gravel, soil, etc.) covers all the way to the sides!

12. Last but not least, sit back and enjoy your beautiful newly edged garden and lawn!

Leave a Reply